Desert Air System Optimization: Heat & Dust
31st Mar•7 min read
Control dusty-shop compressor air as a system: protect the intake, filter downstream air, remove condensate, and monitor restriction.
Important: Universal intake layouts, filter ratings, replacement thresholds, dryer specifications, and ISO purity targets are not established by the available evidence; follow the equipment manufacturer’s instructions and applicable local requirements.
Compressor intake filtration is the first control point for a dusty shop air compressor, but it is only one part of keeping the air system reliable. Dust, dirt, and rust can become particulate contamination in compressed air: contaminants may enter with ambient intake air, while rust can form within the system. The practical goal is not to install a filter and forget it. It is to control what enters, remove what remains downstream, drain collected moisture, and monitor restriction.
For a finish gun, an air motor, or any tool that needs repeatable delivery, the system has to be treated as a chain. Clean, dry air makes finishes look inevitable.
A common mistake is treating intake filtration and downstream filtration as interchangeable. They are not.
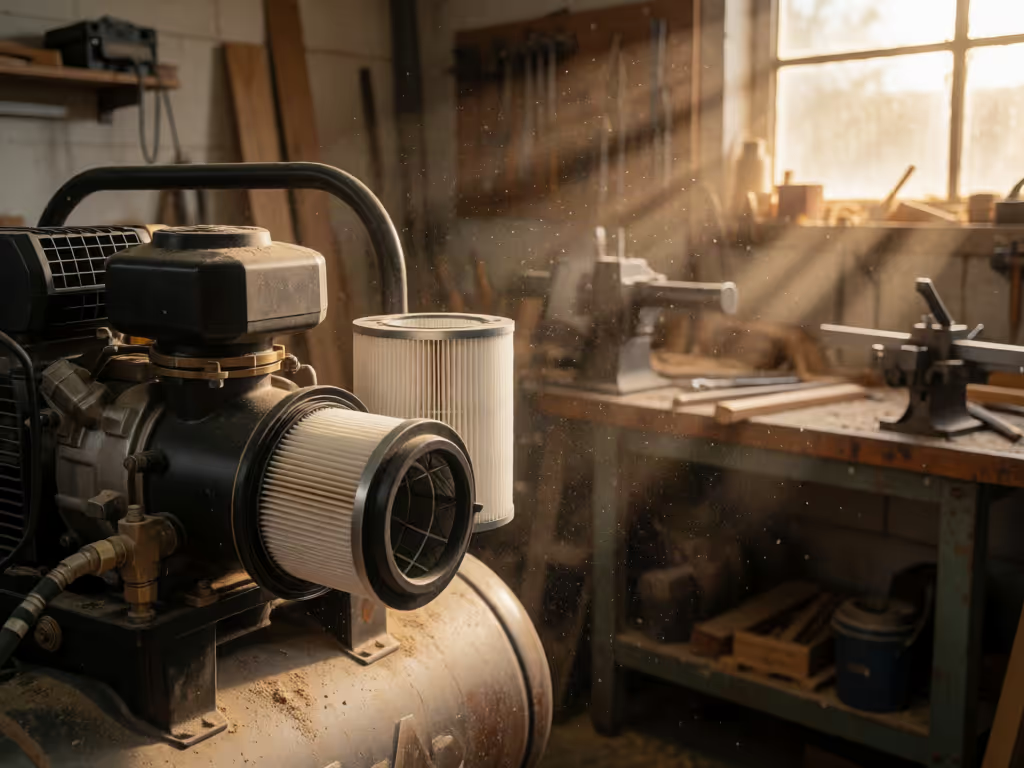
The intake filter addresses airborne solids before they reach the compressor. In a shop where cutting, sanding, grinding, or general traffic creates suspended debris, this first stage matters because the compressor intake is a documented route for contaminants to enter the air system.
The intake-side question is straightforward:
Is the compressor drawing air through a clean, serviceable intake filter?
That wording matters. The available guidance does not establish a universal micron rating, media type, replacement interval, remote-intake layout, or acceptable restriction value for every dusty shop. Those details are compressor- and environment-specific. Use the compressor manufacturer's approved intake-filter arrangement and service instructions rather than improvising a restrictive add-on.
Inline particulate filters work later in the system. They can help remove solid contaminants from compressed air, but they do not prevent dirt from entering the compressor in the first place.
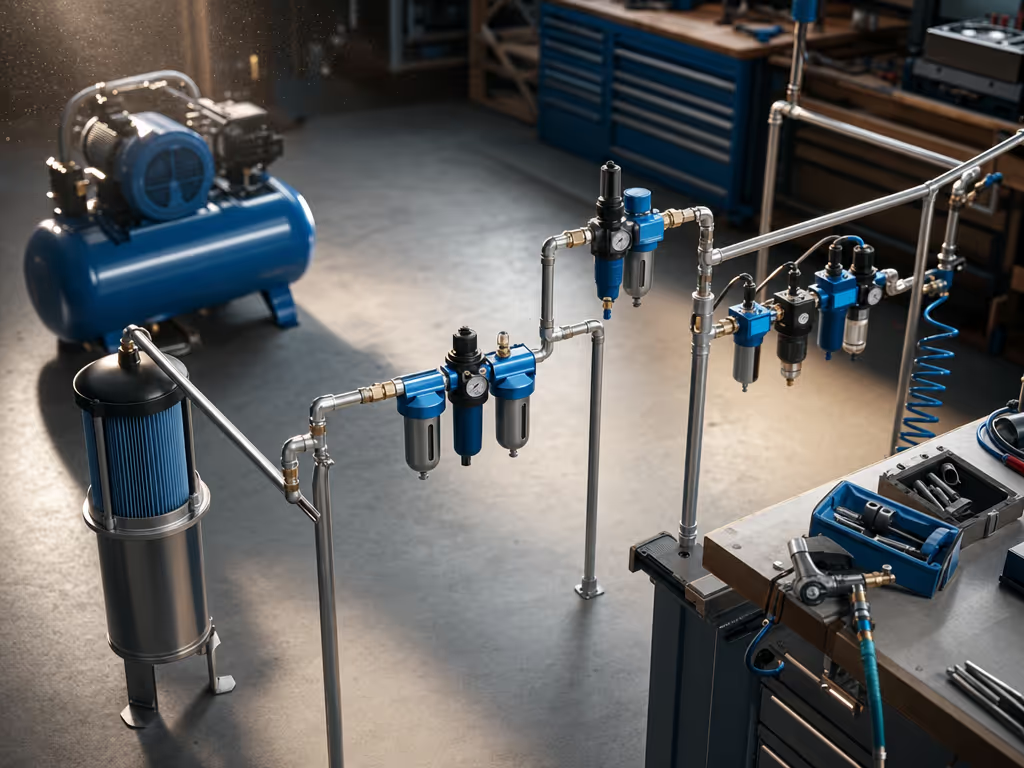
Depending on the required air quality and application, inline filters may be placed: For demanding applications, a multi-stage filtration system can combine particulate removal and moisture control.
A central filter before air enters the main distribution piping is often described as the more efficient arrangement. Filters installed at point of use are another placement option, although outlet-level filtration can add installation and maintenance cost.
For finish work, I prefer to document the entire route: compressor intake, receiver, primary treatment, distribution line, hose, regulator at the tool, and final point-of-use protection where the application calls for it. That makes fault-finding much faster than blaming the paint or the gun.
A filter upgrade is not a substitute for compressor room dust control. The best first question is: Where is the dust generated, and how is it being captured?
In woodworking, a dust-collection hood that confines dust at its source is one identified component of a dust-collection system.
A sensible inspection walk-through looks like this:
That last check helps turn a clean-looking installation into a maintained one. I have seen a body shop chase fish-eyes and orange peel as if the coating were the only variable; the more revealing finding was a wet line. After the air-treatment and delivery issues were corrected, rejects dropped hard the following week.
Pre-filter selection should not be based on a generic “more filtration is always better” rule. Several compressor-system components, including inlet and discharge filters, contribute to normal differential pressure. Unexpected or excessive pressure drop can reduce airflow and may point to neglected maintenance or an undersized system element.
Use a simple record sheet with these fields:
| Checkpoint | What to record | Why it matters |
|---|---|---|
| Compressor intake filter | Condition, damage, service date | Confirms the intake stage is not visibly neglected |
| Inline filter | Differential-pressure reading and service date | Reveals loading and helps time element replacement |
| Filter capacity | Rated flow versus compressor output | A selected filter should match or exceed compressor output to avoid restriction |
| Receiver and drains | Drain operation and collected condensate | Helps prevent carryover into the system |
| Hose and fittings | Hose ID, length, leaks, and connection condition | Documents the air-delivery layout |
There is no single differential-pressure replacement threshold that fits every compressor technology, filter model, and airflow condition. A differential-pressure gauge is still valuable because it gives you a trend. Establish the clean baseline after installing or servicing the element, then investigate a rising reading against the filter and compressor manufacturer's limits.
Dry air, fewer defects.
Dust is only one contaminant path. Water or oil collecting in the system can affect filter efficiency and allow carryover downstream. In cold conditions, failed condensate removal can also contribute to freeze-up.
Drains may exist at an intercooler, aftercooler, filter, dryer, receiver, drip leg, or point of use. The exact components and layout depend on the system, but the maintenance principle is consistent: a drain must actually eject what it collects.
For timer-operated drains, published maintenance guidance identifies three useful checks:
Also follow the drain and tank-maintenance instructions for your exact compressor. For example, one portable-compressor manual specifies daily tank draining and explains that this helps release trapped air and moisture, reduce condensation, and help prevent tank corrosion. That is a product-specific instruction, not a blanket schedule for every compressor, but it illustrates why receiver maintenance belongs on the same checklist as filter service. Use a documented air compressor maintenance schedule to coordinate filter, drain, receiver, and other service tasks for the specific compressor type.
If your finishing work is sensitive to air quality, do not reduce the diagnosis to “there is a filter installed.” Confirm the water-control components and inspect drain function.
A dusty shop often tempts people to use an air nozzle as a broom. In wood-dust settings, that can create a serious fire hazard.
For U.S. workplaces covered by OSHA 29 CFR 1910.242(b), compressed air may be used for cleaning only when reduced to less than 30 psi and used with effective chip guarding and personal protective equipment. A documented OSHA wood-processing citation describes employees using 90 psi compressed air around combustible wood dust; the cited abatement language in that specific setting included vacuuming before blowdown and only 15 psi low-gauge-pressure air, among other controls.
That does not create a universal 15 psi rule for every shop. It does show why “just blow it off” is not a sound particulate-control plan. Verify the requirements that apply to your operation using applicable OSHA air compressor safety standards, including local fire-code obligations and any dust-specific rules.
Set a recurring inspection that takes less time than diagnosing a bad finish or a starved air tool:
This process avoids two expensive errors: allowing contamination to accumulate because the intake stage was ignored, and adding treatment components until pressure drop undermines airflow. Finish quality and tool performance are system results, not guesses.
For workplace cleaning, compressed air is subject to safety restrictions rather than serving as a general dust-control plan. In workplaces subject to OSHA's compressed-air cleaning rule, it is restricted to less than 30 psi with effective chip guarding and personal protective equipment. In combustible wood-dust environments, more restrictive controls may apply. Source capture and collection are the better starting point for dust control.
No. Intake and inline filters serve different positions in the system. Intake filtration helps limit solids entering the compressor; inline filtration helps remove contaminants from compressed air downstream.
Pressure drop increases as an inline element becomes loaded. Confirm that the filter's flow capacity matches or exceeds compressor output, and read the differential-pressure indicator if fitted before changing components.
Before buying another filter, sketch your system from intake to tool and label every component: intake filter, receiver, drains, inline filters, dryer if installed, hose ID, regulator placement, and point-of-use connection. Then take one differential-pressure reading across the inline filter.
That measurement turns intake air quality and particulate control from a vague maintenance concern into a serviceable system. Clean the intake path, maintain the drains, watch restriction, and verify the components where the work happens. That is how clean air stays useful air.