Moisture Analysis Comparison: Dew Point Accuracy
6th May•10 min read
If your pneumatic tools stall mid-nail, your paint finish has fisheyes, or rust stains bloom inside your airline, your compressed air filtration system failed before you even turned on the compressor. The truth? Multi-stage air filtration isn't optional insurance. It is the backbone of uptime when moisture and particulates threaten your schedule. I've seen crews lose $500 in rework because a single $50 filter wasn't staged right for the task. Stop guessing. Start matching your air system to the job with field-proven staging steps.
Most contractors grab whatever coalescing filter fits their compressor outlet. Big mistake. Airborne contaminants hit your tools in waves:
A lone filter either clogs too fast (if sized for Stage 1) or lets fines through (if aimed at Stage 3). NASA's research proves this: particle removal efficiency plummets when one filter tries to handle all sizes. I once traced paint fisheyes on a $12K wrap job to a clogged coalescing stage that flooded the carbon filter downstream. If it trips a breaker at noon, it failed at dawn. You're not fixing filters, you are fixing poor staging.
Plan the power, then the air.
Before buying any filter, answer these:
What's your tool's maximum contaminant tolerance?
What's your compressor's output at working pressure?
What's your ambient dew point?
What's your duty cycle?

Forget desiccant dryers as your first line of defense. They are for final polishing, not bulk water removal. Here's how to cascade moisture control without bankrupting your power budget: Compare refrigerated, desiccant, and membrane options in our air dryer comparison to choose the right final stage.
| Filter Position | Micron Rating | Pressure Drop @ 20 CFM | Required For |
|---|---|---|---|
| Primary | 5 micron | 1.5 PSI | All oiled compressors |
| Secondary | 0.01 micron | 8 PSI | Painting, precision tools |
Critical rule: Never skip the 5-micron stage. Without it, the 0.01-micron filter floods in 10 minutes. I carry two 5-micron filters on my van rig (one for dusty sites, one clean backup). Rotate them weekly. For a full upkeep plan by compressor type, follow our maintenance schedule.
Don't filter to "HEPA": filter to tool failure thresholds. A framing nailer chokes on 40-micron grit. A die grinder seizes at 5 microns. If your application has defined purity classes, match your stages to ISO 8573 air quality standards. Here's how to stage:
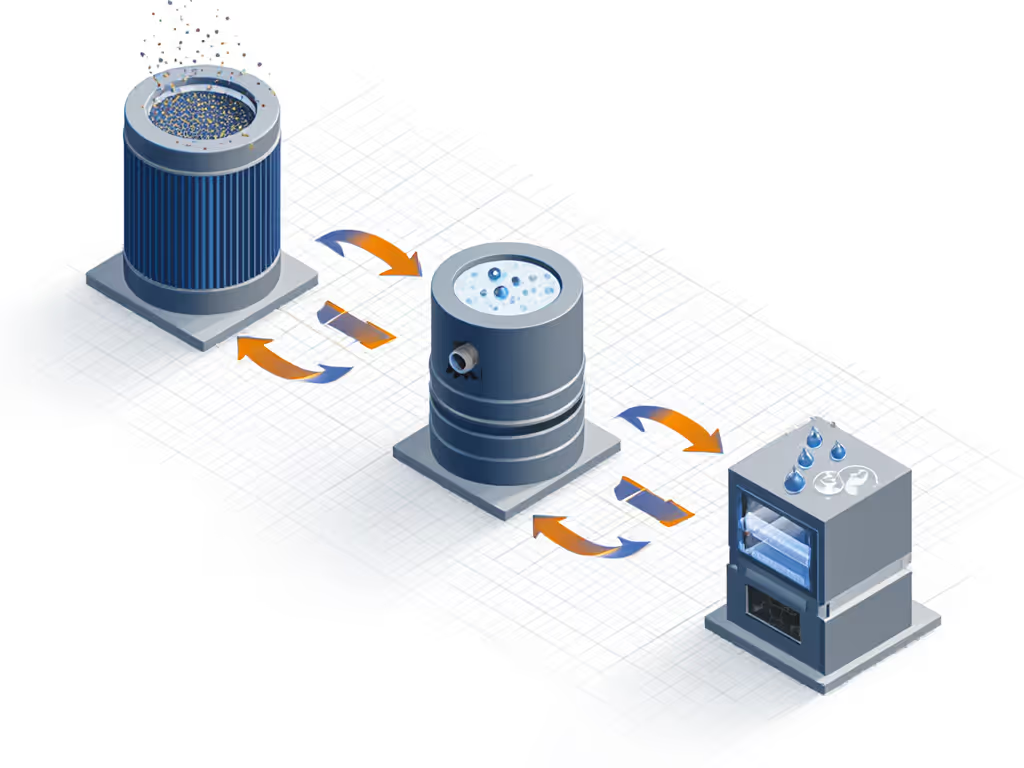
Pre-Filter (50-75 micron):
Coalescing Core (0.01-0.3 micron):
Polishing Stage (0.01 micron + carbon):
The Smokemaster M67 industrial air filtration system skips stages 1 & 2 for light-duty tasks (e.g., buffing). But for heavy weld smoke? Its single-stage media overloads fast, proving why staging = longevity.
Here's where most mobile rigs die. Add filters, then add pressure drop, then the compressor works harder, then it trips GFCI. Your staging is useless if it outruns your power. Do this before mounting:
Calculate total amperage draw:
Match wire gauge to distance:
| Cord Length | Max Amps | Required Gauge |
|---|---|---|
| 0-25 ft | 15A | 14 AWG |
| 25-50 ft | 15A | 12 AWG |
| 50+ ft | 15A | 10 AWG |
Generator test:
Real-world fix: On that concrete pour, we swapped 100 ft of 14 AWG for 50 ft of 10 AWG. Voltage drop vanished. No more GFCI trips at 9 AM.
Stop reactive maintenance. Track these before failures:
| Component | Inspection Frequency | Critical Failure Sign | Field Fix |
|---|---|---|---|
| Coalescing filter | Every 100 hours | 15+ PSI drop | Replace media + check bypass |
| Auto-drain | Daily | Continuous dripping | Tap strainer; clean orifice |
| Desiccant beads | Weekly | Color change (blue to pink) | Rotate beds; replace if slow |
Spare parts non-negotiables for mobile rigs:
That crew using a single $80 filter lost $1,200 in paint redo. My staged system (pre-filter + coalescing + carbon) costs $220, but runs 18 months without downtime. Air purity optimization isn't about "perfect" air. It is about fit-for-task air that matches your tool's weaknesses, power constraints, and schedule. Test your current setup: If moisture appears during a 2-hour spray session, your cascade failed at Stage 1. If breakers trip, you ignored power validation.
Plan the power, then the air. Your schedule depends on it.