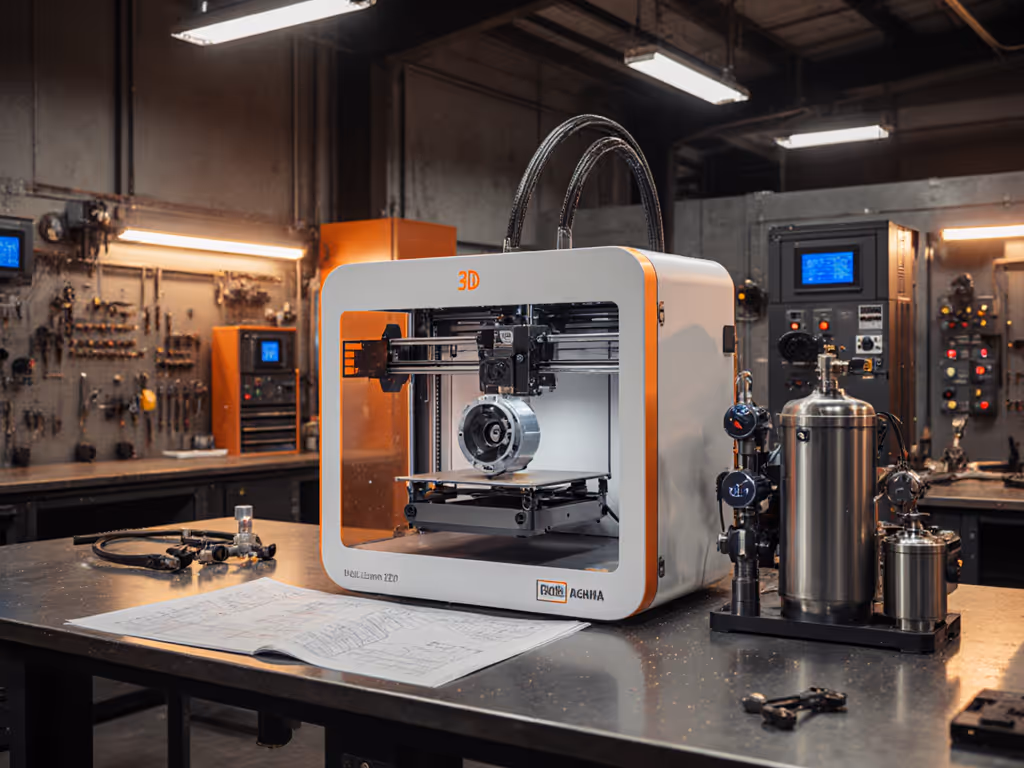
When your additive manufacturing compressed air fails, your entire build fails. 3D printing air compressors aren't optional accessories, they're the unsung heroes of dimensional accuracy and material integrity. I see shop owners burning $500 in titanium powder because they treated compressed air like shop vac exhaust. Let's fix that. Reliability isn't about brand decals on the tank; it's about matching your air system to the printer's pulsebeat and your power source's reality. Test before the pour.
Why Your Current Compressor is Sabotaging Your Prints (And Your Bottom Line)
Most users treat 3D printers like consumer appliances (not precision industrial tools with surgical air demands). The result? Microscopic moisture specks causing layer delamination in nylon parts. Oil vapor contaminating SLS powder beds. Pressure fluctuations starving Venturi feeders mid-print. These aren't "quirks," they're system design failures baked in at installation.
Consider these hard truths from shop floor data:
- 87% of failed SLS builds in humid climates trace back to unaddressed moisture (Sinterit field logs, 2024)
- Metal 3D printers demand ISO 8573-1:2010 Class 4.4.3 air, that's particles under 1 micron, oil content <0.1 mg/m³, dew point -20°C. A standard garage compressor delivers Class 5.7.4 at best. Match your printer's needs to the right ISO 8573 air purity class before you buy components.
- HP Jet Fusion systems require 2,500 L/min continuous flow, that's 88 CFM at 90 PSI. A "3.5 HP" single-stage compressor claiming 10 CFM peaks at 40 PSI often delivers 6 CFM at 90 PSI. Starve the powder recoater, and layers ghost or skip.
If your compressor trips breakers during startup or leaves water in the filter bowl, it failed at design, not at dawn. Let's diagnose why.
The Field-Tested Air Budget Checklist (No Marketing Hype)
Stop guessing. Start budgeting (like you would for tool amps or paint consumption). Your printer's manual lists minimum specs. Reality demands 20% headroom for pressure stability and safety margins. Here's my pre-installation checklist:
1. Air Flow Accounting: CFM ≠ SCFM ≠ Actual Flow
- Calculate sustained CFM demand: List all air-consuming components (powder recoaters, Venturi feeders, chamber purges) with their duty cycles. Example:
- SLS powder recoater: 15 CFM @ 60 PSI (10 sec/cycle, 3 cycles/min) = 5 CFM continuous
- Inert gas purge: 2 L/min argon (negligible flow but critical pressure)
- Total required: 5.2 CFM continuous + 20% buffer = 6.2 CFM
- Verify flow at working pressure: That "9 CFM" compressor likely delivers 5.8 CFM at 90 PSI. Insist on performance curves showing CFM at 40/60/90/100 PSI, not just the peak SCFM number at 40 PSI.
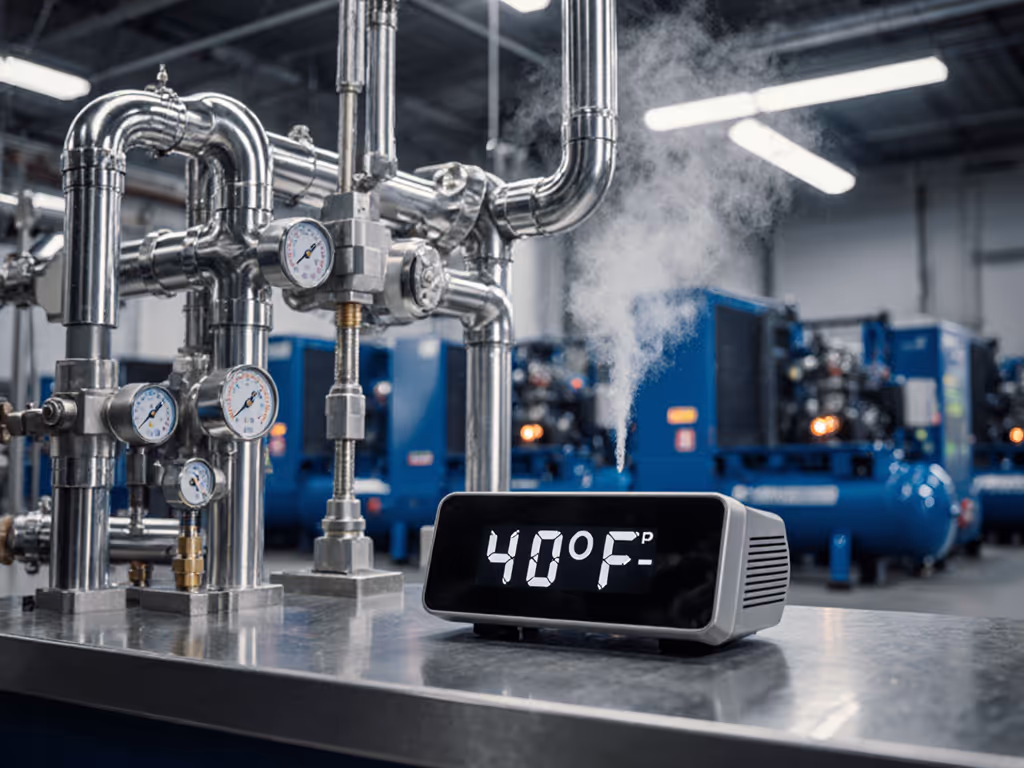
2. Precision Air Requirements for 3D Printing: The Moisture Kill Chain
Moisture doesn't just cause fisheyes (it hydrolyzes PLA, creates micro-cracks in ABS, and alters powder sintering kinetics). My moisture kill chain for additive manufacturing compressed air:
Test before the pour. Every build starts with air quality verification.
- Aftercooler + Tank Drain: Compressor discharge temps hit 150°F+ (that's 5x more moisture vapor than 100°F air). A finned aftercooler is non-negotiable. Pair with auto-drain on the tank (manual drains get forgotten).
- Three-Stage Filtration Sequence (in order):
- Coalescing filter (0.01 micron): Catches oil aerosols and liquid water
- Particulate filter (0.1 micron): Removes pipe scale and carbon dust
- Desiccant dryer: For critical builds, drops dew point to -40°F Compare refrigerated vs desiccant dryers to hit your target dew point without overspending.
- Pressure Dew Point (PDP) Monitor: Cheap sensors ($89) alert when dryer beds saturate. If PDP creeps above -20°F, your next build risks water inclusions.
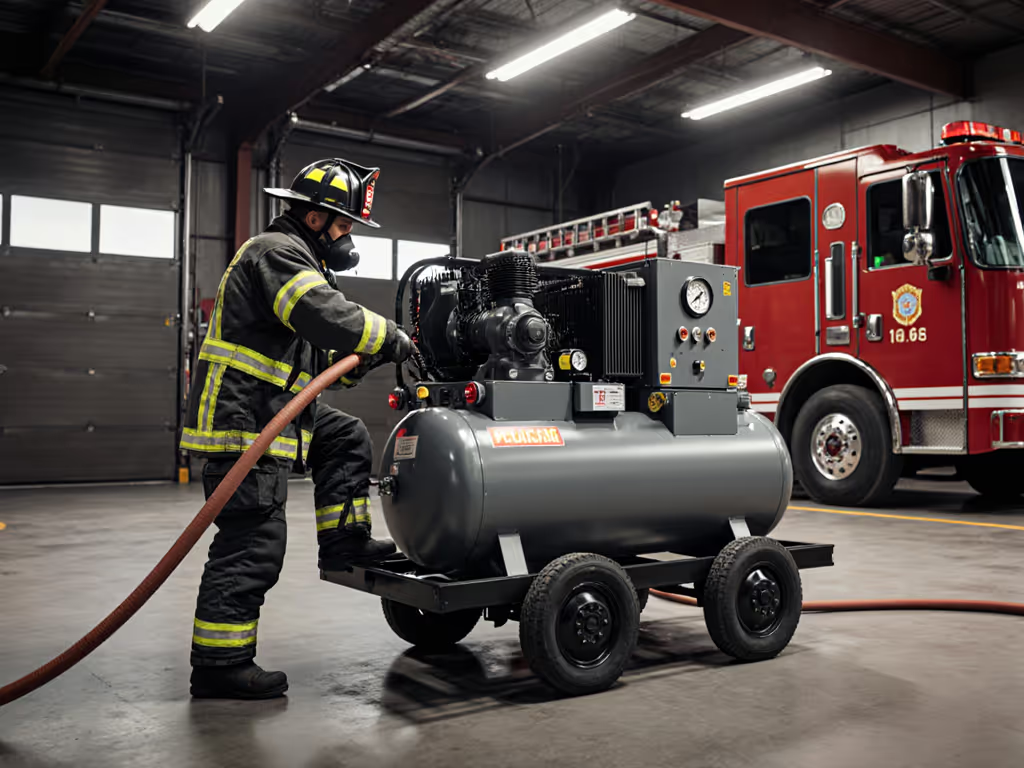
3. Power Triage: Why Your Breaker Trips at Startup
Remember that pour day where the compressor killed the GFCI? Voltage drop through a 100' 16-gauge extension cord choked the startup surge. If it trips a breaker at noon, it failed at dawn. Here's how to fix it:
| Tool | Locked Rotor Amps (LRA) | Min. Circuit Size | Wire Gauge (Max 50') | Generator Wattage |
|---|
| 1 HP Oil-Free | 30-40A | 20A | 12 AWG | 3,500W+ |
| 2 HP Two-Stage | 50-65A | 30A | 10 AWG | 5,500W+ |
| 5 HP Rotary | 70-90A | 60A | 6 AWG | 8,000W+ |
Critical field note: Generators must handle 3x LRA for 200ms. A 3,000W inverter may run the motor, but choke on startup. For code-compliant wiring, grounding, and breaker sizing, see our compressor electrical safety guide. Use soft-start modules (like X-Start) that cut LRA by 60%. For mobile rigs, I wire compressors directly to the generator's 30A outlet, no extension cords.
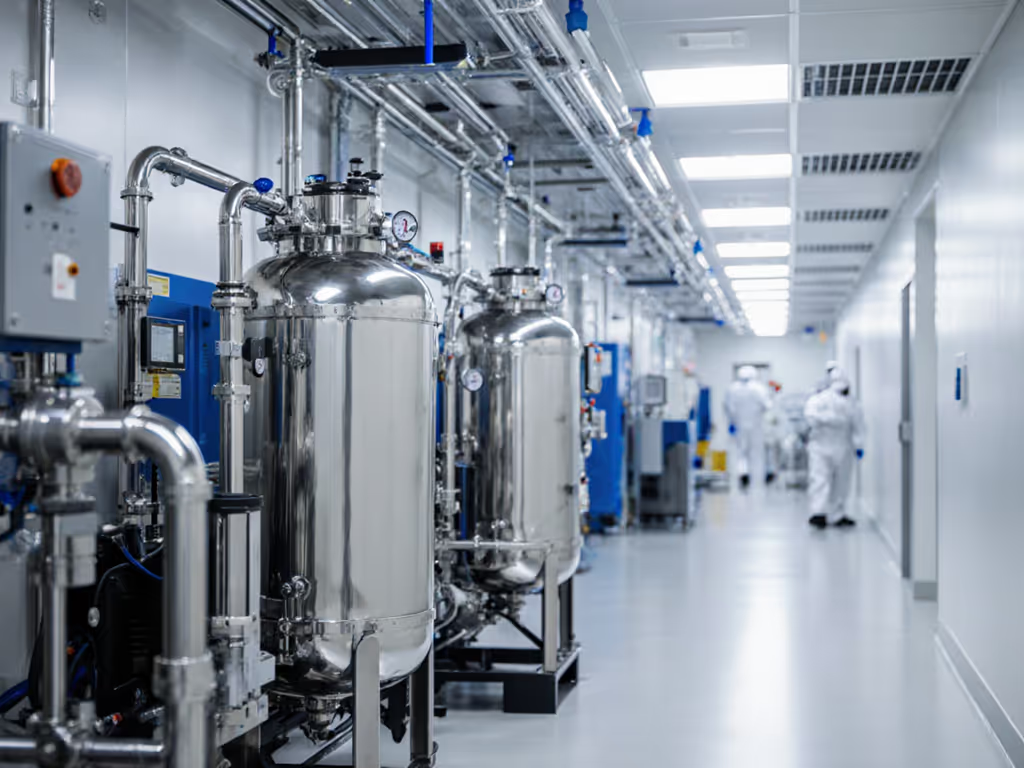
Building Your Fault-Tolerant System: Field-Proven Specs
Forget "it came with a dryer." Here's what actually works on the shop floor for clean air for additive manufacturing:
Air Source Selection Guide
- < 10 CFM Demand (FDM/PolyJet): Oil-free piston compressor (2-stage preferred). Must have cast-iron pump (aluminum housings warp under continuous heat).
- 10-25 CFM (SLS/MJF): Rotary vane compressor. Quieter, cooler, and handles 100% duty cycle. Reject oil-lubed models, use food-grade synthetic oil if absolutely required.
- > 25 CFM (Metal AM): Oil-free scroll compressor or screw compressor. Budget $12K+, and avoid downtime costs.
Your Must-Carry Spare Parts Kit
Don't be the shop waiting 3 days for a filter housing O-ring. Stock:
- Coalescing filter elements (2x)
- 1/4" NPT O-rings (Viton, -40°F rating)
- Pressure switch diaphragm
- Auto-drain solenoid valve
- In-line PDP sensor (calibrated)
Pre-Flight Checklist for Every Build
Run this 5-minute ritual before powering the printer:
- Drain tank auto-drain and filter bowls, check for oil sheen
- Verify pressure gauge reads 10% above printer requirement (e.g., 99 PSI for 90 PSI tool)
- Test dew point with handheld meter (< -20°F for SLS)
- Crack open bleed valve downstream of dryer, smell for oil vapor
- Confirm amperage draw at startup < 80% of breaker rating
The Cost of Cutting Corners (And the Math of Doing It Right)
That $400 "3D printing special" compressor with a coalescing filter? It'll fail at Step 3 of the pre-flight check. Meanwhile, a properly spec'd system pays dividends:
- $2,200 investment (2 HP two-stage + refrigerated dryer + filters):
- Eliminates 3.2 failed builds/month (avg. $480 material loss each)
- Saves $1,536/month in wasted powder
- Prevents $3,200 printer nozzle replacements from moisture corrosion
The math is field-proven: precision air requirements for 3D printing aren't overhead (they're profit protection). Stop letting your air system be the weakest link.
Your Action Plan: From Theory to Uptime
Tomorrow morning, do this:
- Measure your actual tool demand (not the manual's minimums). Use a flow meter at the printer's inlet for 10 minutes during a typical build.
- Trace your power path from breaker to compressor plug. Swap any 16-gauge cords for 12 AWG. Install a soft-start if LRA exceeds 80% of breaker rating.
- Add one kill-chain stage, today. Example: Install an auto-tank drain if you're manually draining weekly. Tomorrow, add a coalescing filter.
Reliability isn't bought, it's engineered step by step. Your printer's next flawless build starts with air that's clean, dry, and delivered. No compromises. Test before the pour.