Field-tested compressor control algorithms and proper air compressor PID control transform spotty performance into rock-solid reliability. Forget brand hype. True stability comes from matching your control system to actual tool demands and power constraints. When compressors hunt for pressure or oscillate wildly, you're burning energy, stressing components, and losing precious uptime. This isn't theoretical. Last Tuesday on a roofing job, I watched a crew's HVLP system starve mid-spray because the compressor's control loop couldn't handle sudden demand spikes. We tuned the PID parameters right there in the trailer, and suddenly the guns ran like clockwork. Test before the pour.
Why PID Matters for Jobsite Reliability
Proportional-Integral-Derivative (PID) control governs how your compressor responds to pressure fluctuations. In mobile rigs and shops, unstable pressure means inconsistent tool performance, wasted energy, and premature component failures. Yet most technicians either ignore the settings or blindly accept factory defaults (especially on 120V/15A circuits where voltage drop already strains the system).
PID works through three components:
Proportional (P): Immediate response to pressure deviation (too high/low)
Integral (I): Corrects long-term drift by addressing accumulated error
Derivative (D): Anticipates future pressure trends based on rate of change
When these elements balance properly, you get consistent pressure without hunting or overshooting. Misconfigured? Expect cycling that trips breakers, starves tools, or kills motors. If you're diagnosing pressure swings or breaker trips, start with our troubleshooting guide. Field conditions don't care about theory (they demand results).
The Field Technician's PID Tuning Checklist
Don't guess at parameters. Systematically tune like this:
Establish Baseline Conditions
Run the system at typical working pressure (e.g., 90 PSI for finish guns)
Record the pressure range during the highest-demand task
Note the recovery time after 50% tank depletion
Log any breaker trips or motor stalls
Tune Proportional (P) First
Start with the factory P value (typically 0.5-2.0)
Gradually increase until pressure responds quickly to load changes
Stop when the system starts oscillating (±5 PSI)
Back off to 75% of that value
Field tip: On 120V circuits, reduce P by 20% to compensate for voltage sag
Add Integral (I) for Drift Correction
Start with I = P ÷ 2
Increase until steady-state error disappears
Excessive I causes slow oscillations (long recovery cycles)
Target adjustment rate: no more than 0.5 PSI per second
Apply Derivative (D) for Surge Suppression
Set D = P × 0.1 initially
Increase until pressure spikes from sudden tool demand dampen
Too much D causes instability at low loads
Critical for mobile rigs on generators (smooths inrush current)
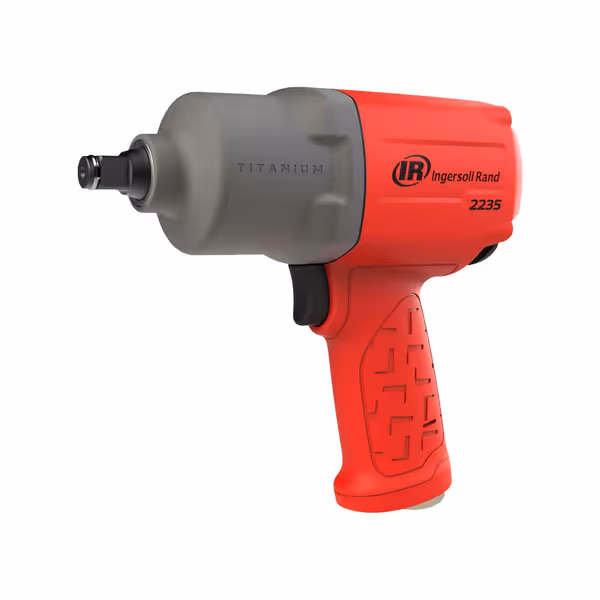
Ingersoll Rand 2235TiMAX-R 1/2" Air Impact Wrench
Unleash extreme torque for tough bolts with lightweight, durable control.
Lightweight (4.6 lbs) for extended comfort and maneuverability.
Titanium hammer case ensures extreme durability and reliability.
Cons
Requires significant airflow from a capable air compressor to perform optimally.
Premium price point might be a consideration for hobbyists.
Customers find this impact wrench to be a reliable tool with high torque output and strong performance, particularly suitable for heavy-duty applications. They appreciate its quiet operation, lightweight design, and good value for money, with one customer noting it works well with a 6-gallon pancake air compressor.
Customers find this impact wrench to be a reliable tool with high torque output and strong performance, particularly suitable for heavy-duty applications. They appreciate its quiet operation, lightweight design, and good value for money, with one customer noting it works well with a 6-gallon pancake air compressor.
Pressure Stability Optimization for Real Workflows
Most compressors ship with conservative settings that prioritize safety over responsiveness. For high-demand tasks like sanding or impact wrench work, you need tighter control loops. Follow these proven steps:
Record duty cycle: minutes-on/minutes-off for each tool
Example: 1/2" impact wrench (2235TiMAX) draws 14 CFM @ 90 PSI for 30 seconds, then rests 2 minutes
Simulate Worst-Case Load
Run all tools simultaneously that might operate together
Monitor: pressure drop, recovery time, motor temperature
Acceptable: ≤ 5 PSI drop during sustained load
Adjust for Power Constraints
On 15A circuits: Reduce maximum recovery rate to prevent tripping
For inverters/generators: Increase derivative gain to absorb startup surges
Critical wire gauge reference:
50' max for 14AWG (15A circuits)
100' max for 12AWG (20A circuits)
Never exceed 75% circuit capacity for motor loads For wiring, ventilation, and placement best practices that prevent nuisance trips, see our air compressor installation guide.
If it trips a breaker at noon, it failed at dawn.
Beyond Basic PID: Energy Efficiency Algorithms in Practice
Modern controllers integrate advanced compressor control algorithms that build on PID foundations. But don't get dazzled by "AI-based compressor control" marketing. Real value comes from properly implemented pressure stability optimization you can measure:
Load/Unload Control: Best for reciprocating compressors with 40-60% duty cycles
Modulation Control: Maintains constant pressure but wastes energy at partial loads
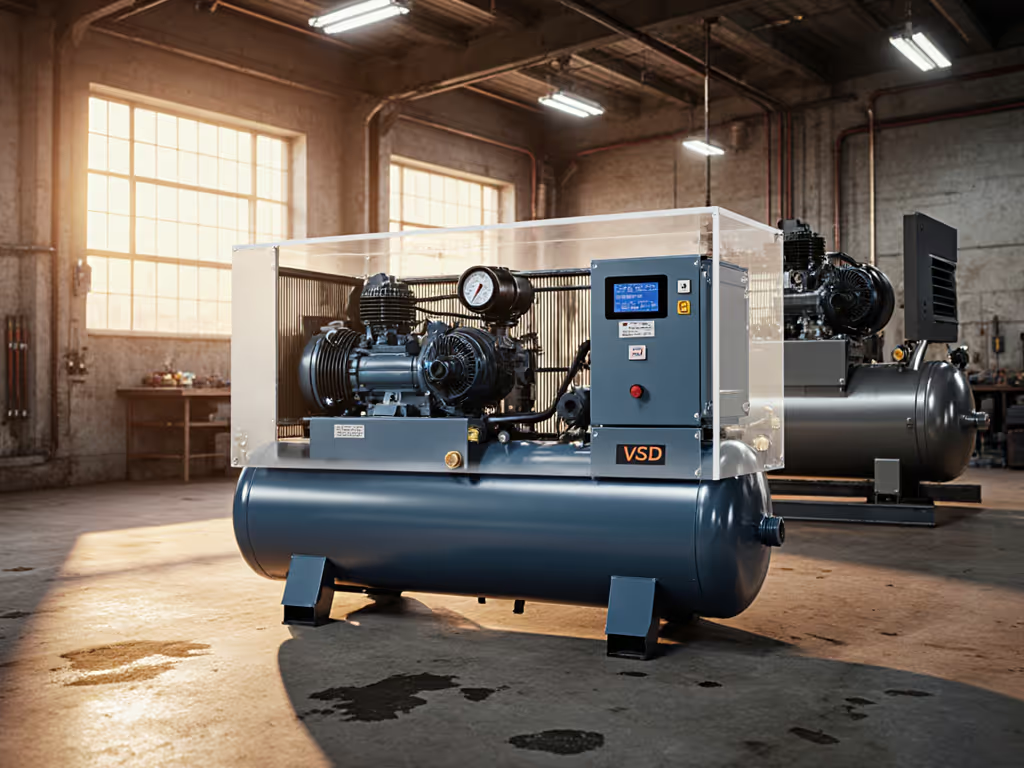
VSD (Variable Speed Drive): Adjusts motor speed to match demand (ideal for continuous high-CFM tasks; compare VSD vs fixed speed)
For most mobile rigs and shops, multi-compressor sequencing with properly tuned PID delivers better ROI than expensive VSD systems. Set lead compressor to maintain 85-90 PSI, lag units to activate at 80 PSI (this staging reduces cycling and extends motor life).
Field-Tested Optimization Sequence
Determine Critical Pressure Range
Minimum: Highest tool requirement (e.g., 80 PSI for framing nailer)
Maximum: 10 PSI above minimum for buffer
Set Bandwidth Limits
Target: 5-7 PSI differential between load/unload points
Too narrow: excessive cycling
Too wide: pressure starvation during high demand
Implement Time Delays
Minimum run time: 2 minutes (prevents short-cycling)
Minimum stop time: 1.5 minutes (allows motor cooling)
Verify with Amperage Clamp
Check startup surge vs circuit capacity
Peak current should not exceed 150% of running amps
Adjust PID D-value if surge approaches breaker trip point
Action Plan for Your Next Job
Don't wait for pressure instability to wreck your schedule. Before your next big job:
Download your compressor's control manual (most manufacturers provide free PDFs)
Run the baseline test with your highest-demand tools
Tune PID parameters using the field checklist above
Document your settings for future reference
Most importantly, test before the pour. Validate your entire air system under simulated job conditions before committing to work. A 15-minute preflight check prevents hours of downtime when the crew's counting on you. I've seen too many jobs derailed by untested systems that worked fine in the shop but choked under real demand.
Reliability isn't about expensive components. It is about matching your compressor control algorithms to the actual workflow. Proper PID tuning delivers consistent pressure, reduces electrical stress, and eliminates the guessing game that wastes your most valuable resource: time. To go further on reducing operating costs across the whole system, read our compressed air efficiency guide. When your air system runs quiet and steady, your tools perform right, and the job moves forward without interruption (that's the mark of a professional setup).